The original “RPi image” is far from polished, and one of the few “issues” is that Grafana is not starting automatically. You can enable the automatic startup with sudo systemctl enable grafana-server
Grafana can be started manually with for example sudo systemctl start grafana-server
Note that it will take a moment for Apache to realize Grafana is up after it has been started
Thanks so much - it started instantly!
Another issue with the image, as I can see, is that the version of RuuviCollector is not the latest, I will try to update it now by replacing with the current files.
That’s correct, the image is really old there’s some discussion earlier in this thread about updating it and what it involves, for example the configuration options have changed significantly since then
Just wanted to say huge thanks to Scrin and the Ruuvi team for making an easy-to-implement all-inclusive solution to weather data logging and presenting! Took me literally minutes to set up and get running after spending weeks (and finally giving up) on AWS IoT with its incredibly steep learning curve.
RuuviCollector has been updated and it supports upcoming raw format 2. Additionally packages are updated, old image needed some 800 MB of updates after boot.
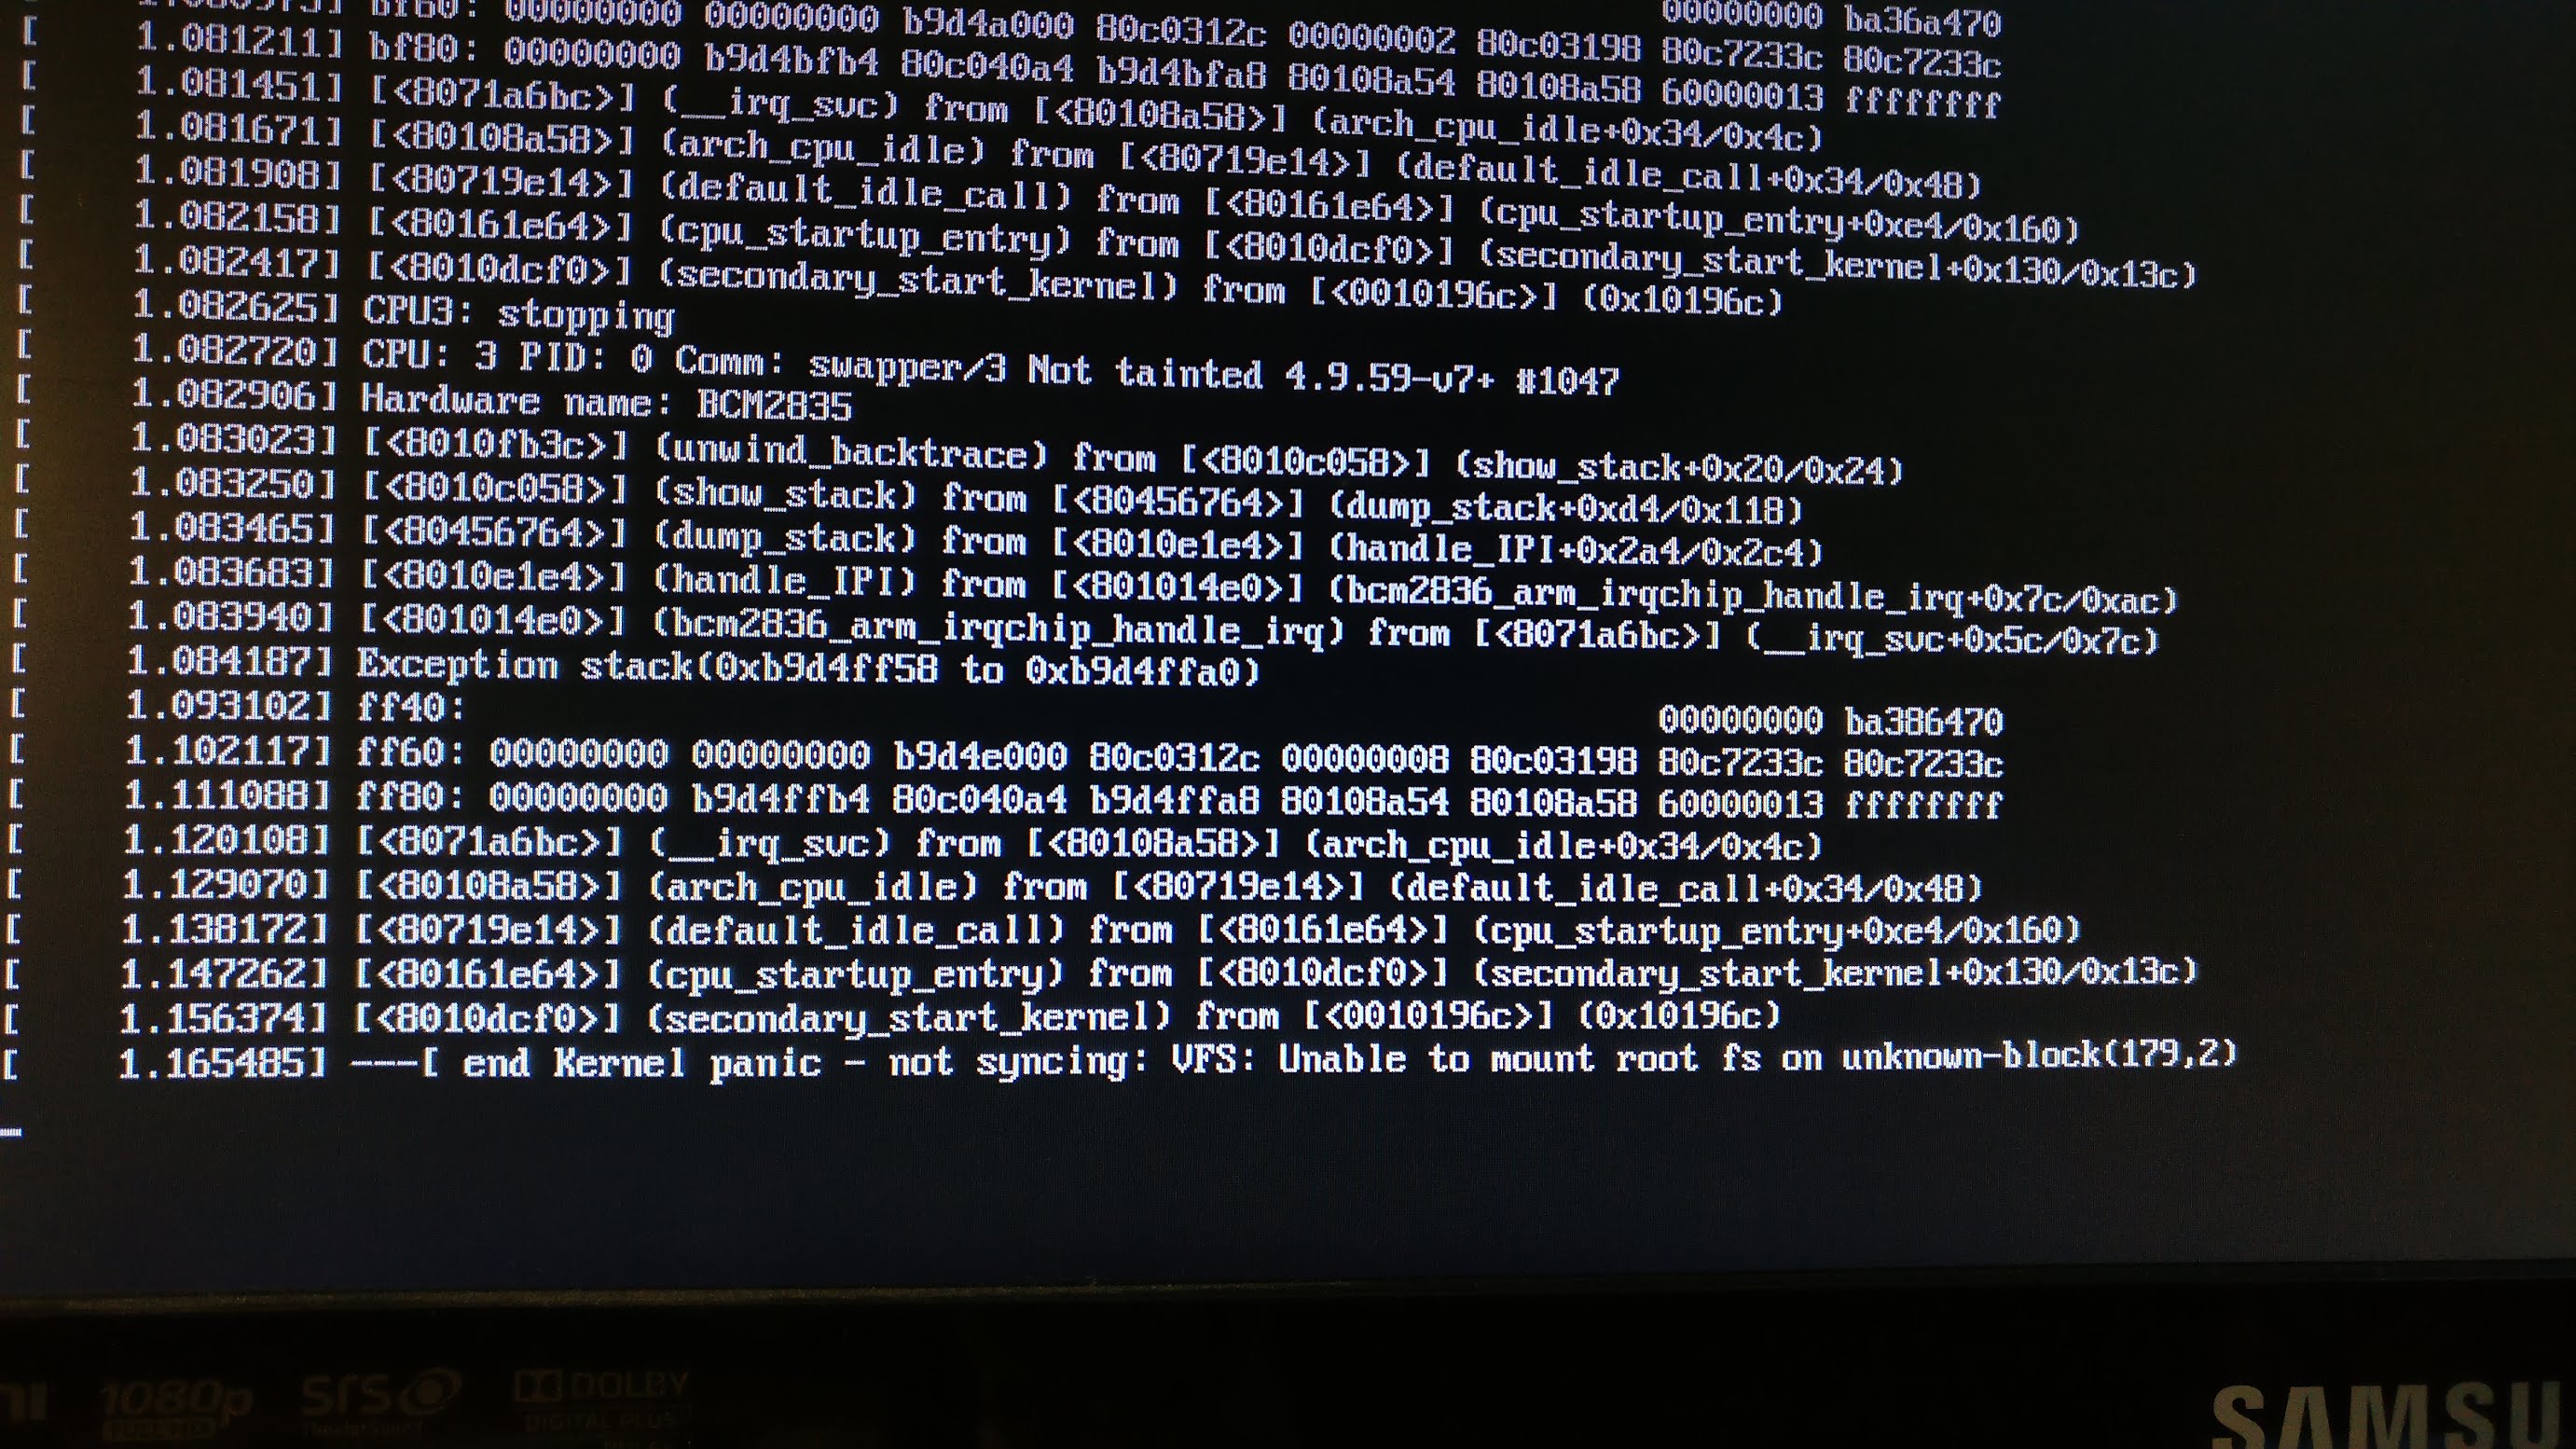
Not an expert but are you sure you are running it on Raspberry Pi 3? I see references to bcm2835 and bcm2836 in your screenshot but Pi3 is based on bcm2837 and I’m not sure the binaries are 100% compatible. Just off the top of my head, may be completely off.
The card I used was “official Raspberry NOOBs 16 GB”. If the image won’t fit into your card, I can take a look into shrinking the filesystem by a few hundred MB
Hi guys. We would like to make the official Raspberry Pi logger image super easy to use also for beginners. This is the plan (copypaste from its upcoming tutorial):
"There are several ways to explore the history. Starting from the easiest and the quickest one
1) Using a computer or a mobile phone, establish a connection to a WiFi access point named Ruuvi Logger (password = ruuvilogger). Once connected, surf to: http://ruuvi.logger"
Would someone be interested to help?
Basically what is needed:
Make the RPi to act as a WiFi access point
Install a DHCP server (?) so that user can type ruuvi.logger instead of 192.168.0.1 or something
HI, just got my first tag and it they are cool. I tried Otso’s latest image and phase some problems.
First win10 did not unzip the package but I success with Linux and made installation card, but but… I was not able to get it running… I am sure I missed something. I read this page through several time and the result was not working.
I will try again tomorrow but few questions:
I understand grafana must be started but how other services? Are those up&running automatic?
Sorry for stupid questions but I have to make this running in my rasp, this is so nice stuff.
Hello, latest image is for Raspberry Pi 3 and it should be good to go without additional configuration.
I think that every link is updated to point to google drive, if you find one pointing to Jenkins.ruuvi.com please let me know and I’ll fix it.
 there’s some discussion earlier in this thread about updating it and what it involves, for example the configuration options have changed significantly since then