After some 18 months of hard work, Ruuvi Firmware 3.x is getting close to be ready for beta testers. Here’s a short explanation on how it might affect you.
For the users
Update to 3.x firmware brings no new features to most of the users right now, and you don’t need to update at this time unless you’re using Ruuvi Station on iOS and want to have charts and alerts.
It should be noted that the update will break compatibility with existing Eddystone and Espruino firmwares, and it’s not possible to return the tag to 1.x or 2.x firmwares without a wired connection to the tag. While we haven’t heard of bricked tags, if something goes wrong with the SDK update only way to restore the tag is with a wired connection.
The green led blinks on device activity as before, but currently the button doesn’t have a function.
For the service providers and library developers
The Ruuvi Firmware will no longer have the RAWv1 data format. Already all the new tags shipping with 2.5.9 from our factory broadcast in the RAWv2 format, so if your service works well with the latest RuuviTags from Ruuvi Shop, you don’t have to take any action.
The current RuuviTags still have the RAWv1 mode for backwards compatibility, and you can enter it by pressing the button “B” and observing that the red led starts blinking instead of the default green led. However the 3.x firmware will not have such easy access to the RAWv1 mode, so please update your data parser if you have done something custom.
If your service would benefit from data logged into the RuuviTag itself, you can now read up to 3 days of logged data over GATT. The preview documentation of the GATT communication protocol can be found at docs.ruuvi.com but please note that the docs are still a work in progress and might contain errors.
For an example implementation of log reads you can explore @Rinat’s BTKit.
For firmware developers
The firmware has been designed to be modular and with well defined interfaces between modules. This makes it easier for you to support new boards or board variants as well as add new sensors or actuators to the firmware.
GATT
The firmware supports 2-way communication over BLE GATT, using Nordic UART Service. The GATT protocol also support reading basic device information using BLE standard Device Information Service and buttonless firmware updates using Nordic UART Service. As mentioned above,
The preview documentation of the GATT communication protocol can be found at docs.ruuvi.com but please note that the docs are still a work in progress and might contain errors.
In future the GATT connection will have more extensive options, such as configuring logging intervals etc. However Ruuvi will provide precompiled firmware variants for different use cases so you can just flash your desired firmware and start using them in your application without worrying about setting up the configuration system.
Logging
The firmware logs 3.5 days worth of environmental data and the environmental data can be read out via GATT as described above. In future more data, such as acceleration events will be logged.
Multiple board support
The board definitions are in their own repository at GitHub - ruuvi/ruuvi.boards.c: Ruuvi board definitions. Used by ruuvi.firmware.c. Under development, not recommended for any use yet.. The board definition file has information of the pinout and sensors available. The application has responsibility of translating the definitions of the board files to different modules to avoid dependencies between modules, for example maximum I2C data rate on boards is translated to drivers with function task_i2c_init
    switch (RUUVI_BOARD_I2C_FREQ)
    {
        case RUUVI_BOARD_I2C_FREQUENCY_100k:
            config.frequency = RUUVI_INTERFACE_I2C_FREQUENCY_100k;
            break;

        case RUUVI_BOARD_I2C_FREQUENCY_250k:
            config.frequency = RUUVI_INTERFACE_I2C_FREQUENCY_250k;
            break;

        case RUUVI_BOARD_I2C_FREQUENCY_400k:
            config.frequency = RUUVI_INTERFACE_I2C_FREQUENCY_400k;
            break;

        default:
            config.frequency = RUUVI_INTERFACE_I2C_FREQUENCY_100k;
            ruuvi_interface_log (RUUVI_INTERFACE_LOG_WARNING,
                                 "Unknown I2C frequency, defaulting to 100k\r\n");
    }
Firmware variants
As of 3.28.13 there’s 4 firmware variants:
| Default | Test | Longlife | Longmem | |
|---|---|---|---|---|
| Advertisement interval | 1285 ms | 211 ms | 9900 ms | 1285 ms |
| Logging interval | 5 minutes | 6 seconds | 5 minutes | 12 hours |
| Memory length | 3.5 days | 1.7 hours | 3.5 days | 1.5 years |
| Battery on RuuviTag B | TBD, medium | TBD, short | TBD, long | TBD, medium |
| Runs system tests | No | Yes | No | No |
| Prints status to RTT | No | Yes | No | No |
Each of these variants serve a different need, and the individual values might be fine tuned later.
Modularity
The firmware is written with abstractions to implementations via function pointers. This enables the same firmware to use for example SHTC3 and BME280 sensors, the source of data is abstracted away and firmware only knows that it has temperature and humidity data available.
This also allows the drivers module to import sensor manufacturer’s official drivers, as those require only function pointers to data transfers functions. The driver module provides manufacturer driver the information it needs to communicate with the sensors and transforms the information from manufacturer driver to a common format of all Ruuvi drivers. Right now sensors from STM, Bosch and Sensirion are supported.
Continuous Integration
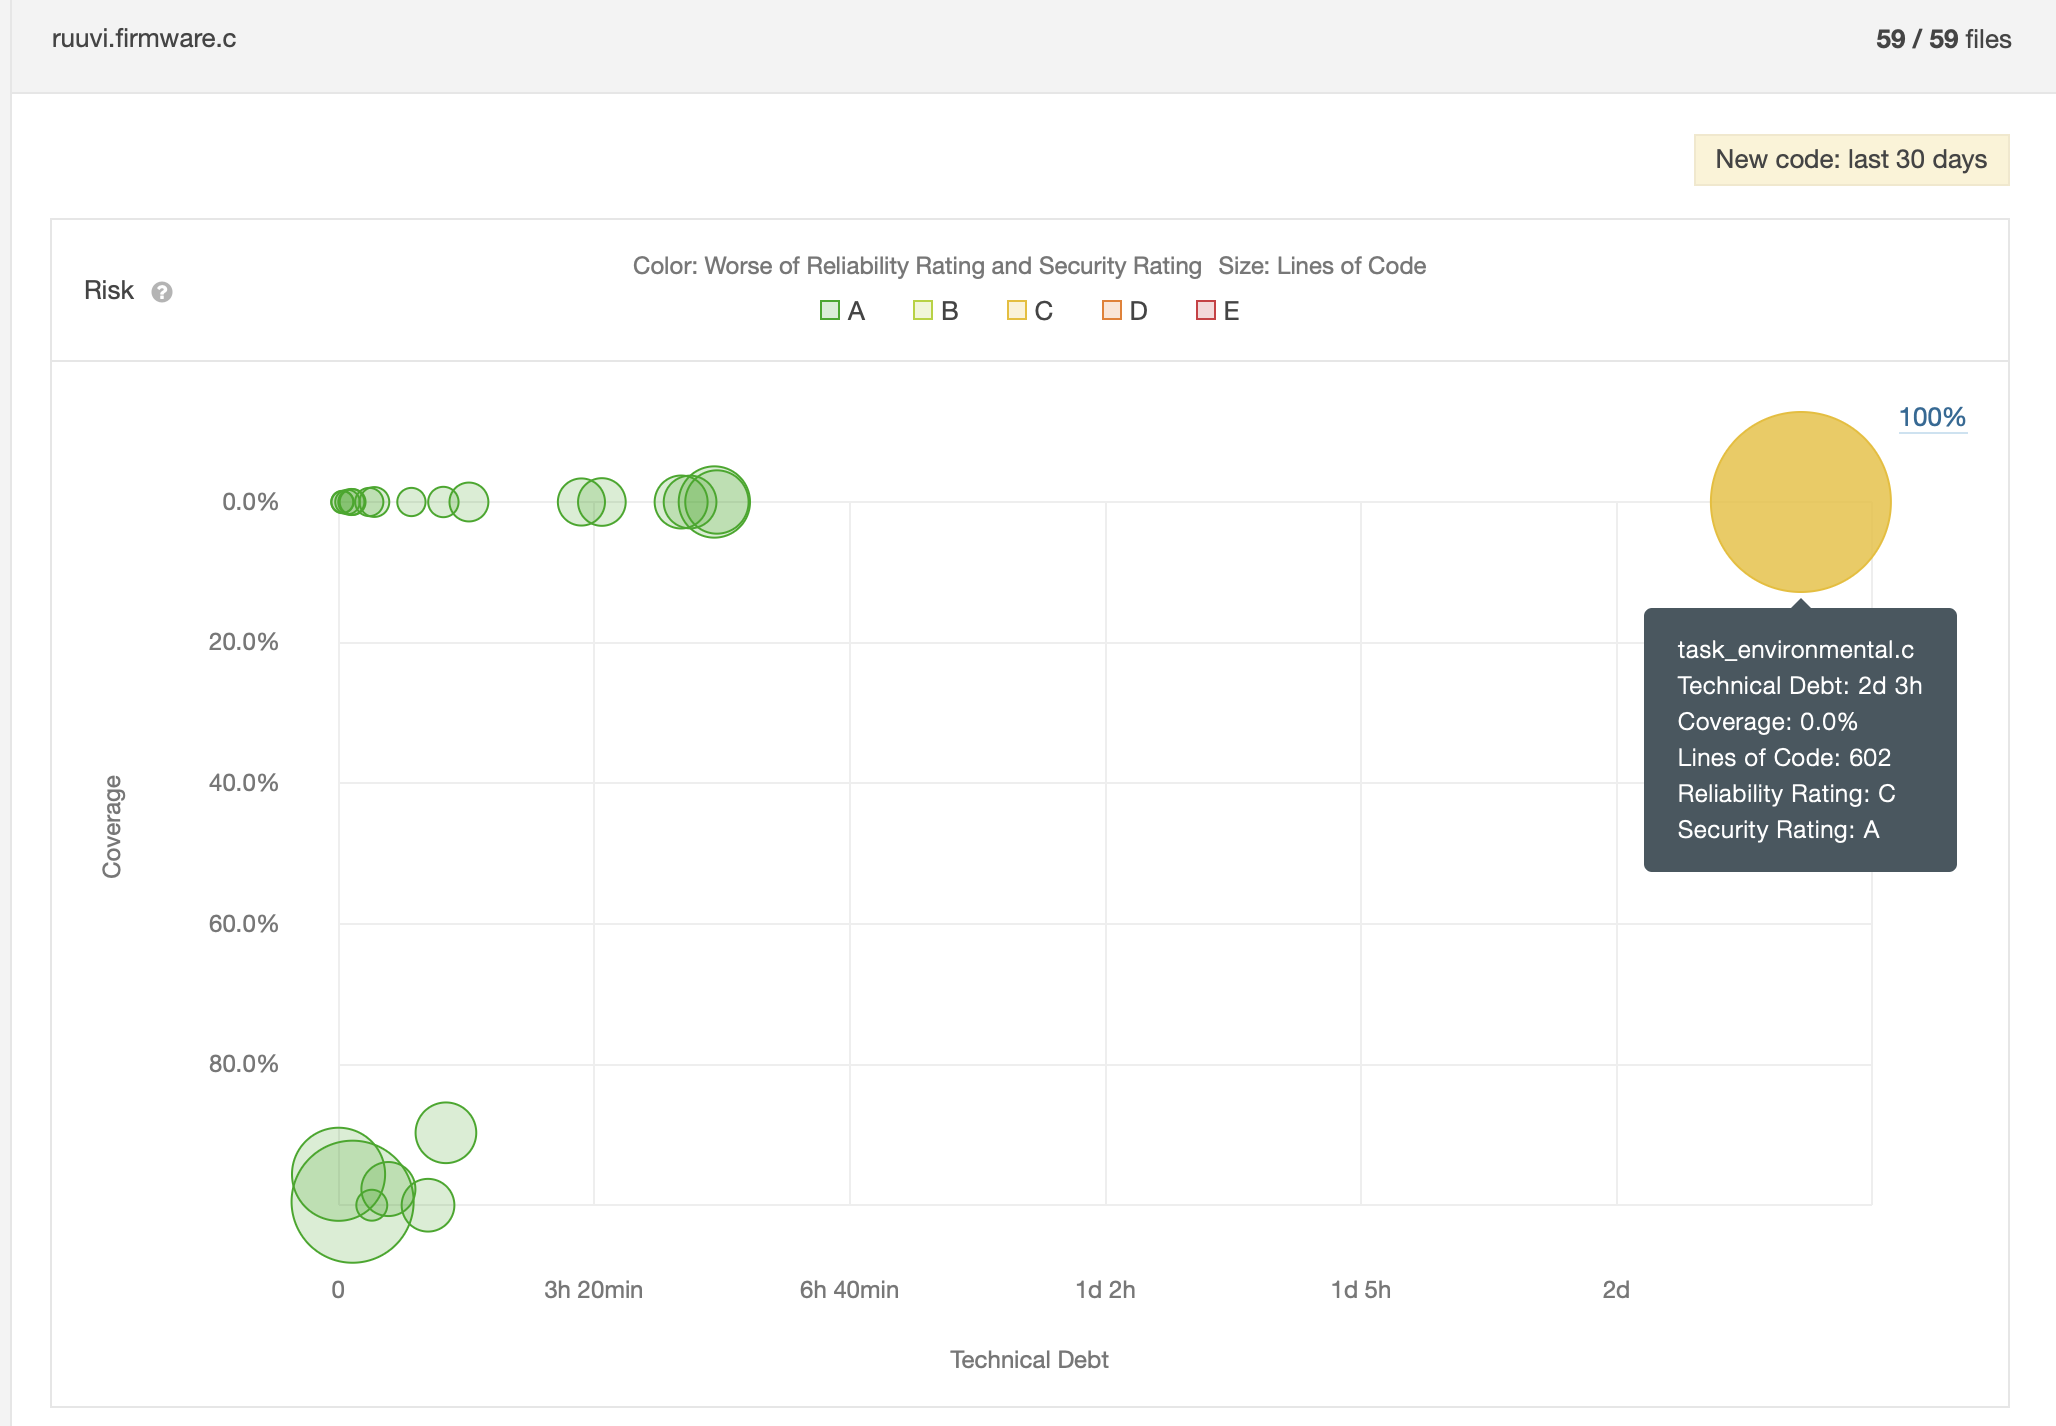
To prevent the firmware collapsing into unmaintainable spaghetti, we use several Continous Integration tools such as Jenkins for producing firmware builds, Ceedling for unit tests, PVS Studio for static code analysis, Doxygen for building documentation, Travis for running and publishing the results of the previous tools and SonarCloud tracking the CI status.
In future the power profile of each board will be taken as well as some integration tests will be run automatically.
 , and looks like I can build the firmware with SES. There are several projects: “Kaarle”, “Kalervo”,“Keijo”, and “Ruuvitag_b”. I suppose the latter one is the one I want to use (I am using the master branch)?